
文驿App开发
初始化
创建项目:
npx create-expo-app wenyi
开启真实设备调试
手机开启开发者模式
打开开发者模式设置,开启USB调试
数据线连接电脑
启动项目:
npm run start终端中点击 a ,就会发现此时安卓设备上自动打开了 Expo Go,并且进入了当前应用
Expo Go需要在 Google Play 商店中下载
终端输入“m”,发现安卓弹出一个选择内
点击最后一项开启热更新,此时修改代码,样式随之改变。
安装依赖
在 React-native 中,最好还是用yarn安装,使用npm会出现各种各样的问题
安装NativeWind(类名修改样式)
npm install nativewindnpm install --save-dev tailwindcss@3.3.2输入:
npx tailwindcss init将会生成一个tailwind.config.js文件修改
tailwindcss.config.js文件,改为如下:
/** @type {import('tailwindcss').Config} */
module.exports = {
  content: ["./App.{js,jsx,ts,tsx}", "./src/**r/*.{js,jsx,ts,tsx}"],
  theme: {
    extend: {},
  },
  plugins: [],
}
修改
babel.config.js文件,修改如下:
module.exports = function(api) {
  api.cache(true);
  return {
    presets: ['babel-preset-expo'],
    plugins: ["nativewind/babel"],
  };
};
重启项目,测试是否成功:
export default function App() {
  return (
    <View className="flex-1 items-center justify-center bg-white">
      <Text className="font-bold">Open up App.js to start working on your app123</Text>
      <StatusBar style="auto" />
    </View>
  );
}
样式如下,即为成功:
 完成后,我们就可以使用
tailwindcss快乐的进行开发啦!
安装React Navigation(路由跳转)
npm install @react-navigation/nativenpx expo install react-native-screens react-native-safe-area-contextnpm install @react-navigation/native-stack此时即可使用路由了,
此时项目路由如下:
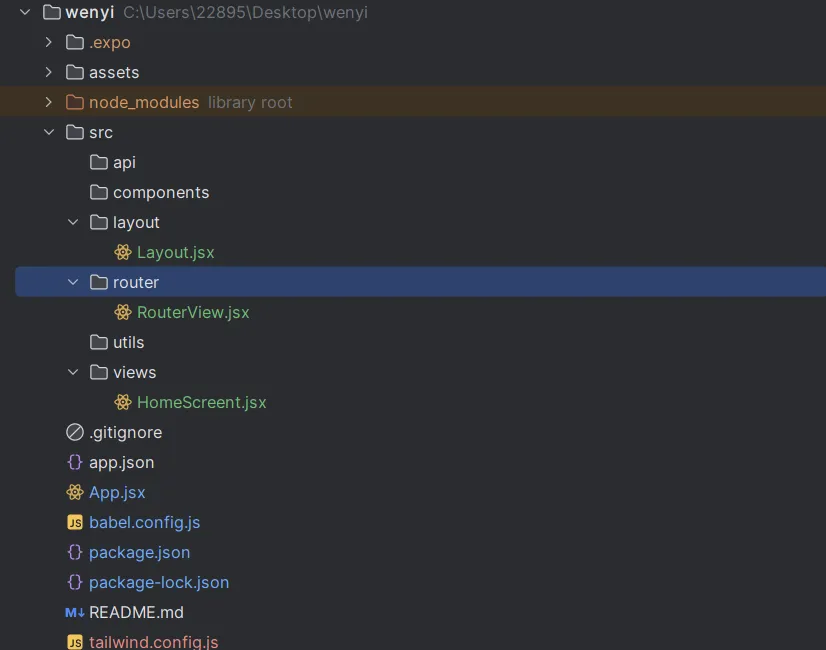
需要添加路由,进入 router/RouterView.jsx 中进行添加
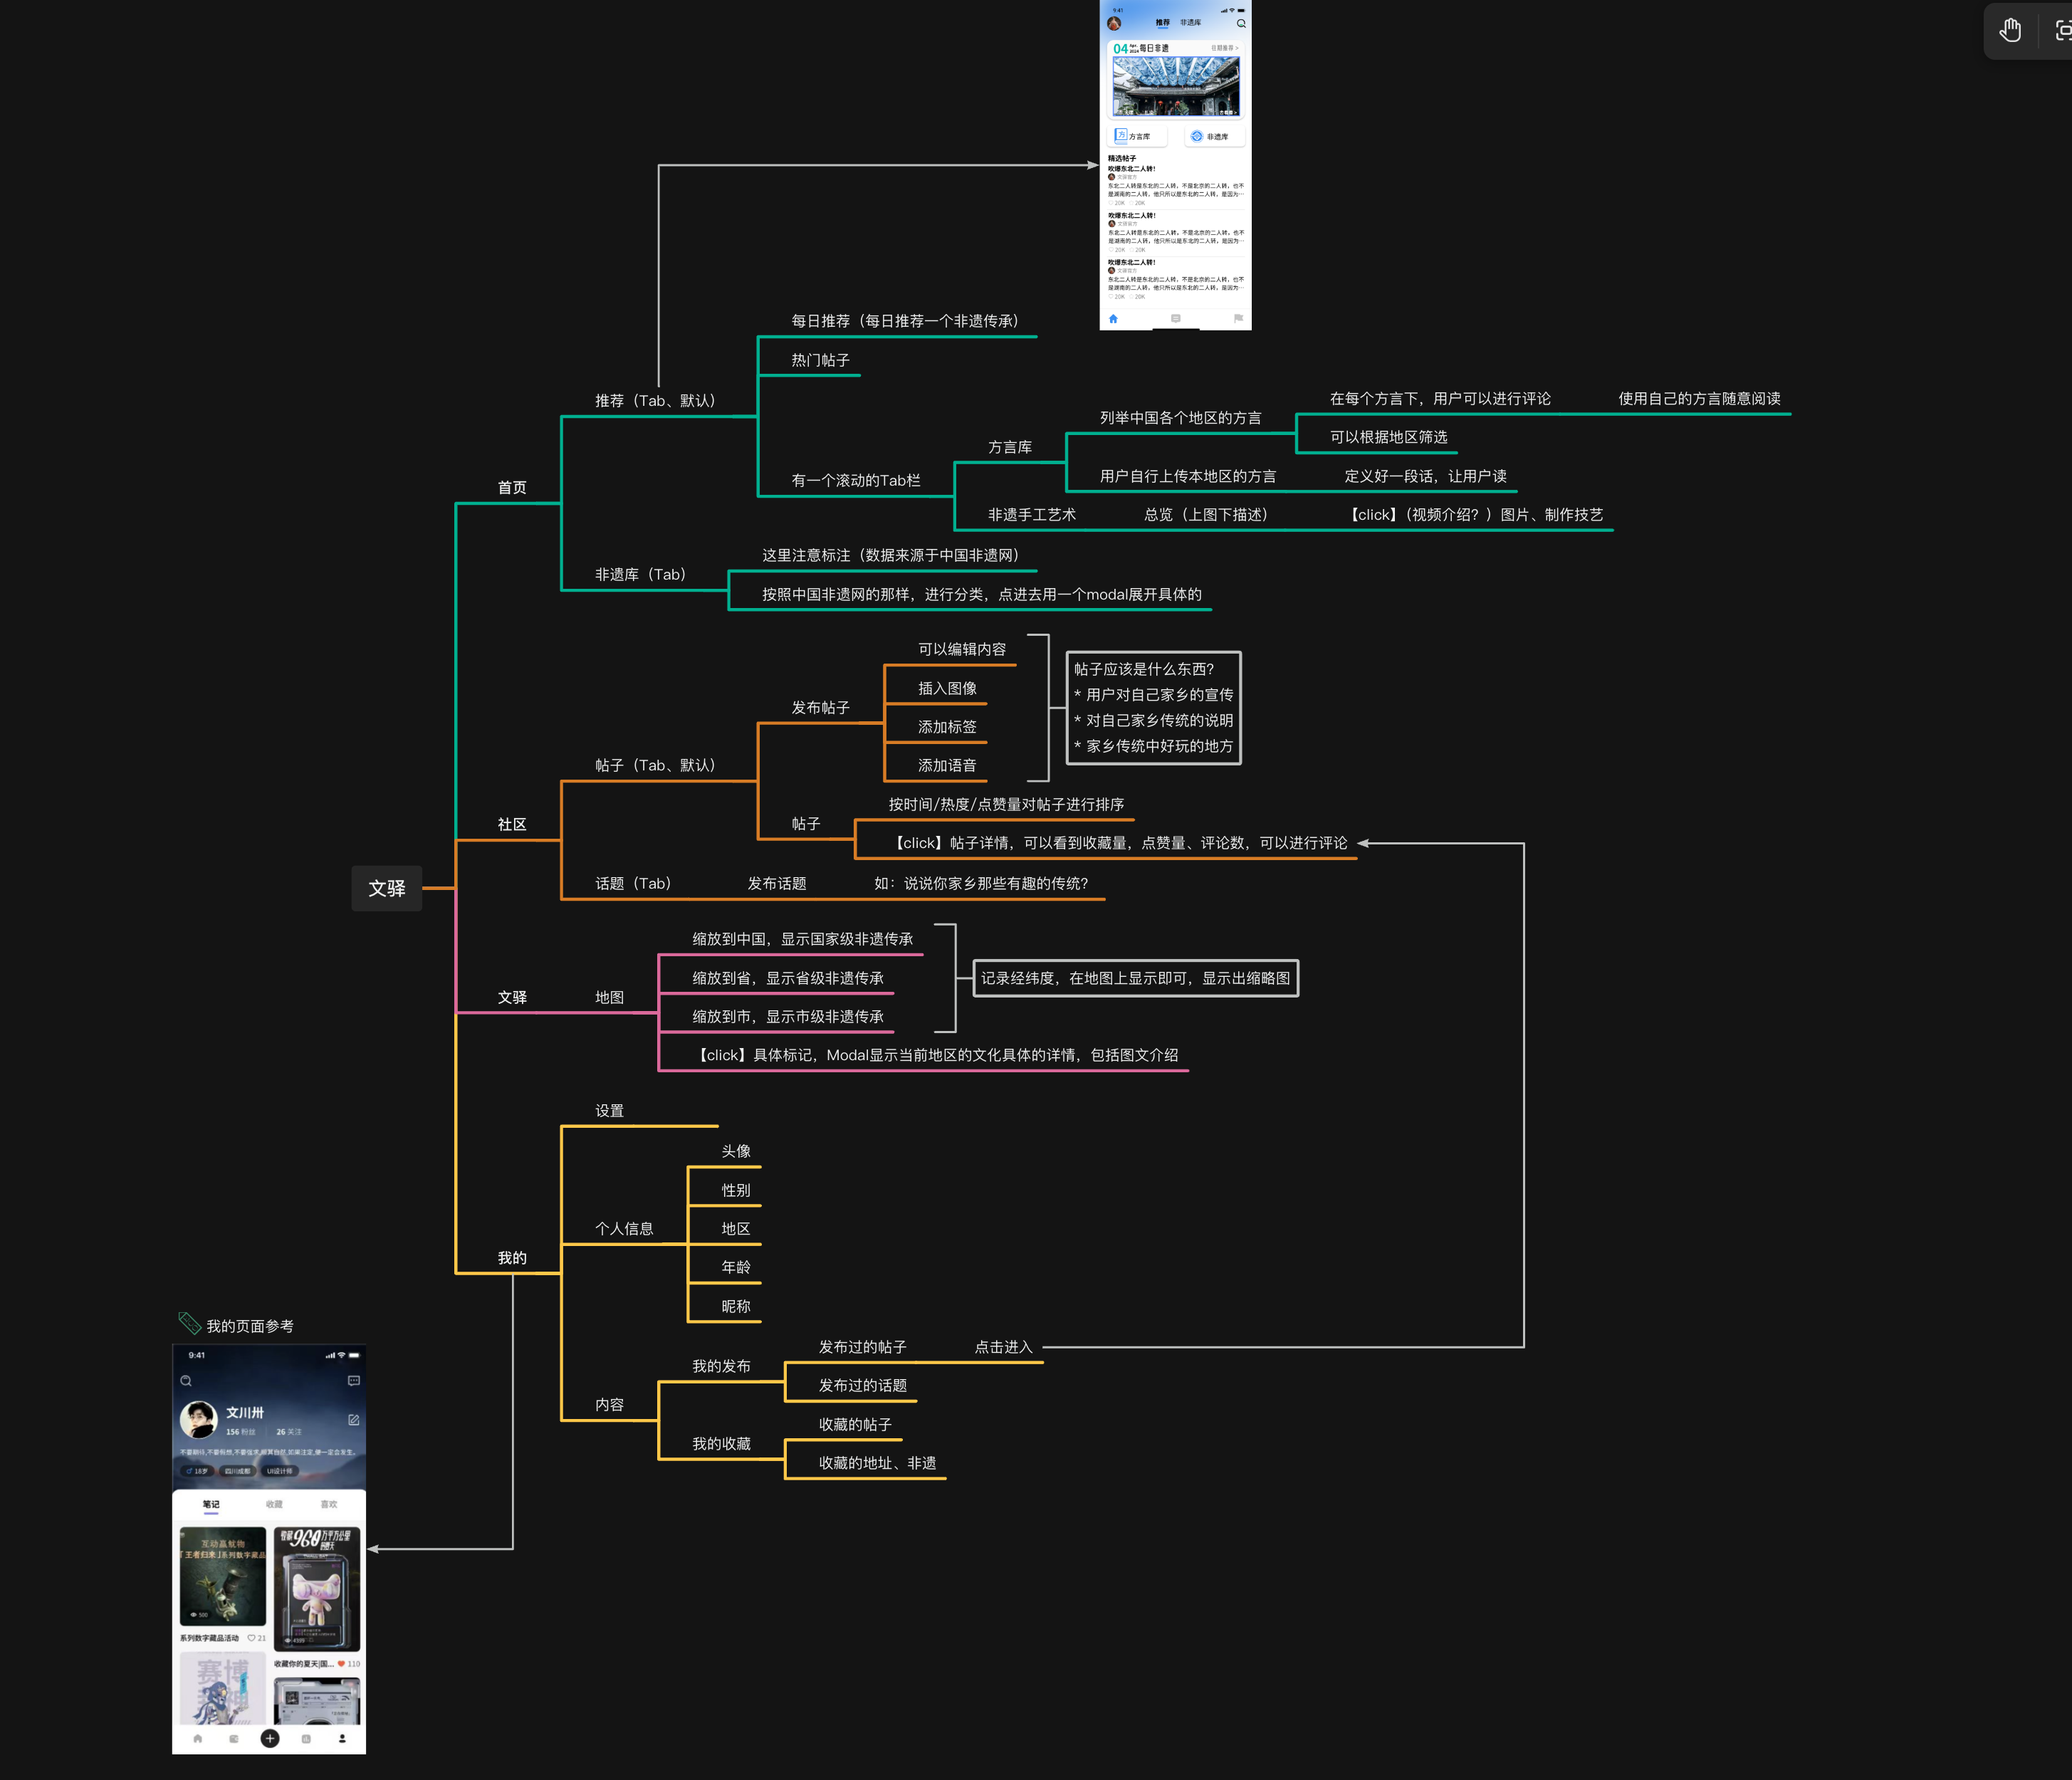
页面设计
思考
杂项
富文本编辑器
本项目选用react-native-pell-rich-editor作为富文本编辑安装
npm install react-native-pell-rich-editor --save
错误码
使用技术:
cheerio-without-node-native: 解析HTML